
O.K. campers. Here's the next chapter of my adventure in upholstery and sewing.
This is what the seats looked like when I removed the fabric. They were just squared off pieces of foam, glued to a plywood base.

I wanted the seats to have a cushy comfy look. So I added a layer of Dacron the same size and shape as the top.
Lay a piece of Dacron over the seat you want to redo.


Glue it to the foam of the seat with a spray adhesive.

Then add another layer of Dacron that is wrapped around all the sides of the seat and stapled to the sides.

Start by stapling a few staples on each side in the middle and work out to the sides.

Staple into the side of the plywood. Pull the Dacron nice and tight and smooth, working from the middle out.


Then trim off the excess Dacron.

If you've been paying attention, it should look something like this!!!!

Just to be on the safe side, make sure it still fits on the chair!!!!

Now do it five more times.
What was I thinking???
Don't forget a very important tool in the upholstery workroom!!

I always feel, that if I haven't bled on a project, I didn't really make it. I'm spreading my DNA all over the place. CSI Boston, would be able to figure out who made these chairs!!!!!!
Now it's time to start adding the fabric!!!!!!!!!!!!
Yay!!!!!!!!!!!!!!


I forgot to snap pictures of how I did the corners. SORRY. I gathered the front corners, and did a square tuck in the back.
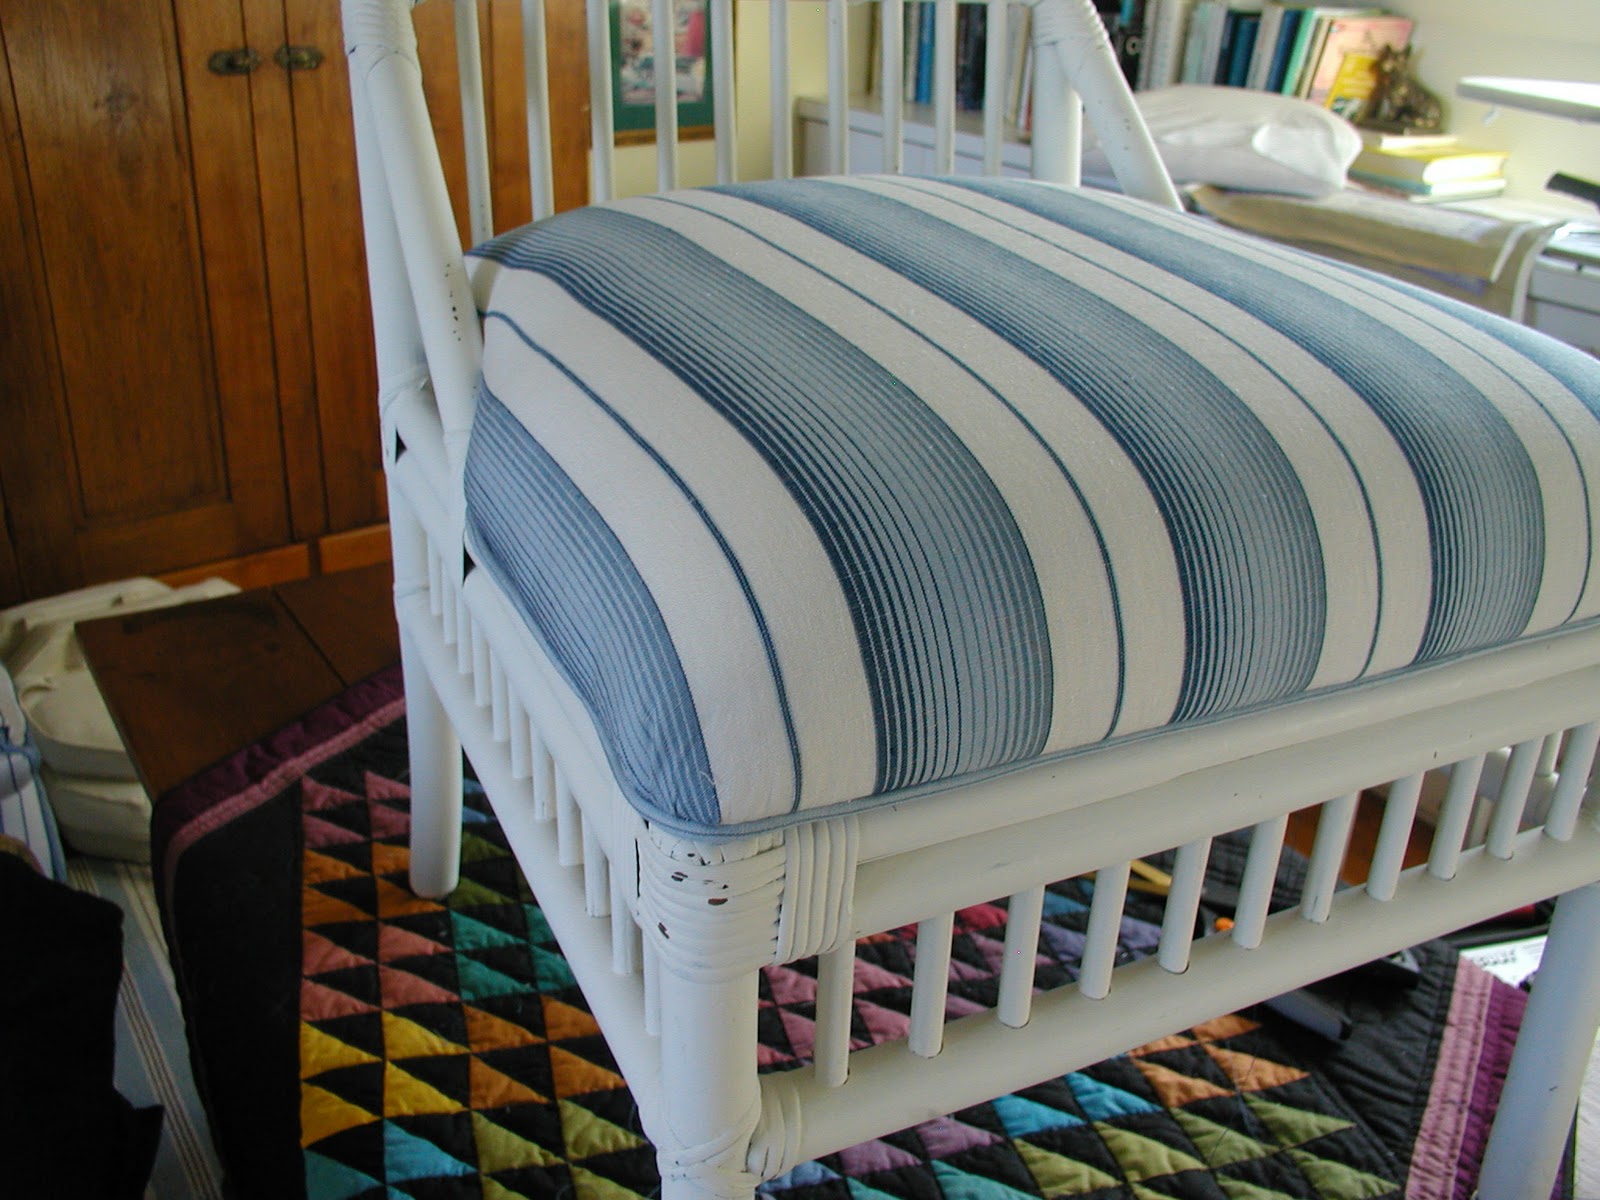
Then I made a single welt trim (piping) to finish off the bottoms.
Then I did it five more times!!!

 Rather than cut across the bias of the fabric, which is the standard way to cut a welt, I chose to cut the fabric straight, so that it would all be blue for a nice sharp line at the bottom of the seats. You can do that if the fabric has enough give to it, so it won't bunch in the corners.
I am awesome!!!


When you come to an inside curve, snip the fabric of the welt like this, don't cut into the seam though.

I will show you!!!!


If you have been paying attention, it should look something like this.

WHO'S THE BOMB?????
I AM!!!!!
Next post will be how I did the back.
Oops, I forgot to tell you to cover the bottoms with a layer of cambric. It's a thin black fabric that is used for a dust cover. Just staple it to the bottom for a finished look. I of course, don't have any pictures. Sorry.


.jpg)
.jpg)
.jpg)


6 comments:
Wow! Great Job, I am thinking of buying a compressor and staple gun, tell me I am thinking of reupholstering my headboard, but there are so many ******* staples that have to come out I am clueless. How to remove the previous staples without putting out an eye or maiming myself? Any tips ? Oh Bombie One?
This is an awesome tutorial. Thanks for taking the time to take all the photos and write the post, step-by-step. See, you are not only a Creative Person; you are an Organized Woman, too.
To answer sewbetsy's question.... Go to my post "how to upholster a wall, chapter two". It goes over the tools used for pulling staples.
Timely tutorial, I have 5 chairs to recover next week! Thanks for taking the time to share!
I am definitely saving this tutorial. I'll be doing 4 chairs later too. Thanks much!
Good to know and as the daughter of a mother who makes beautiful quilts, I have to say that's a lovely quilt you have there!
Post a Comment