
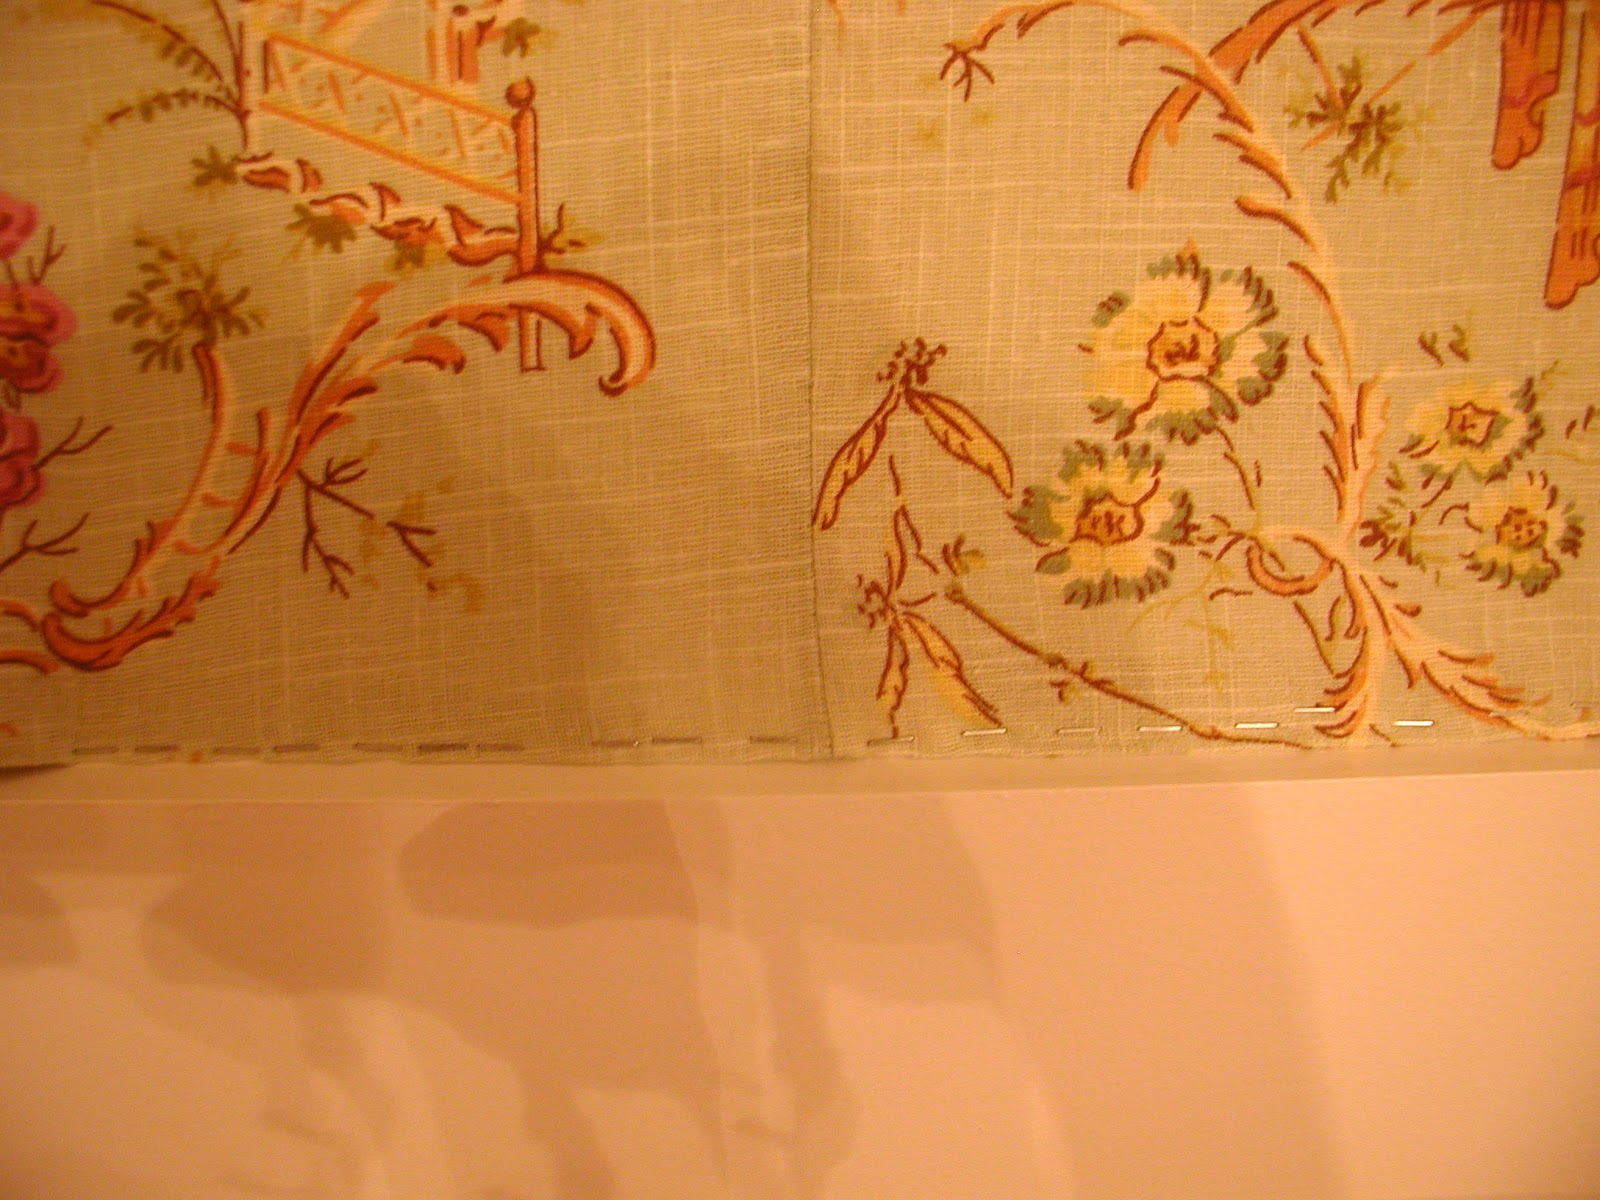
 Carefully pin the two pieces of fabric together, checking that the repeats are nicely lined up.
O.K., O.K., Amy from Maison Decor can now stop hounding me. This is the first lesson on how to fabric a wall. I might cover the whole procedure if I feel like it, in which case it will not only be chapter one, but the only chapter. HOWEVER, if it takes a lot of time and space to cover this material, I will brake it down into pieces. I won't know until I have finished writing the @#$ thing, so I better start.
Step one!!!!
Chose a fabric!!!!!!!!!
Think about how the repeat will lay out on the wall. Since I was trying to cover Miriam's walls for the least amount of money, I chose a fabric with a 36" repeat, and had Nigle install the wainscoting 34" below the wall. That allowed me 2" to play with. Leaving this small a margin of extra fabric is a REALLY, REALLY, REALLY stupid idea. My friend Sally, at Drape It, (the professional workroom I use for paying clients), thinks I'm funny as I careen off one disaster to another in my DYI attempts. I worked out the amount of fabric I needed so frugally and carefully, TOTALLY believing the fabric information from Calico Corners, where we purchased this fabric. The repeat was listed as 36". The repeat was listed as 36". The repeat was listed as 36". (I know, I'm repeating myself.) HOWEVER.......It was actually 35". This TOTALLY almost screwed me up. BUT, being the super decorator that I am, I pulled that @#$% fabric into place, and made it work. Sally informed me this happens all the time. The repeat can be shorter or longer, so take that into account when figuring your yardage.
Step Two!!!!!!
Pay for the fabric!!!!!!
Step Three!!!!!!
Bring all that heavy fabric home!!!!!!
Step Four!!!!
Figure out your cuts, and cut all the pieces. Measure each wall and draw a little sketch of each wall. If you are geometrically challenged it can be helpful to use graph paper. Divide the width of each wall by the width of the fabric, and that will let you know how many widths you will need for each wall. Remember, when you are figuring out how long each width needs to be, you have to take into account the repeat. When ordering the fabric, always order an extra length of one repeat, since you don't know where the vendor has cut the fabric. Make sure you find out if it's a straight across repeat, or a dropped repeat. If you don't know what I'm talking about, google it, I can't be bothered to go into that now, 'cuz I'm not a @#$% sewing instructor.
O.K. I told you this in the wrong order. Jeesh. You have to do all this diagramming stuff first, in order to figure out how much fabric to buy.
Step Five!!!!!
Sew the pieces together to create a single piece of fabric for each wall. Match you repeats. NOW I'M GOING TO HAVE SOME PICTURES!!!!! YAYYYYYYY!!!!!
I forgot to take pictures of matching a repeat when I sewed Miriam's wall, so being the wonderful gal that I am, I ran up to my workroom and pieced some scraps together to show you how to do it.


Like this.


Step Six!!!!!
Drive to Miriam's house with the fabric pieces. (If you are not decorating my niece's house, then don't drive over there because you will only confuse her when you ring her doorbell.) Place the big pieces of seamed fabric on the corresponding walls. Lightly tack it up in the middle of the top and bottom and in the middle of each side. This is to just hold it in place while you fiddle around with its position.

YOU WILL NEED A STAPLE GUN!!!!!! When I did the dining room in Florida, I just had a crummy electric staple gun. It was VERY hard. Since taking my upholstery classes, I have bought a small compressor at Home Depot. They are only around $100.00, and make all the difference in the WORLD. I also bought a staple gun that runs off the compressor. If you are doing fabriced walls, it is important to get one with a long nose, so it can reach into the corners. Sometimes you can find used ones on ebay.


Once I got the fabric tacked loosely in place, I found a seam and used a level to staple the fabric straight on the wall.
Then I started from that point on the wall, and worked my way out, stapling along the top, then along the bottom, making sure the fabric stayed level.


When I came to the corner (after I did my little victory dance) I left the excess fabric, which I would trim later when I worked on the corners.


One you've cut the diagonal, staple around the opening.


Here's the wall once I cut the opening. I am the bomb!!!


Now you will need to cover all the staples with double welting. My wonderful friends at Drape It let me use their sewing machine with the special welting attachment, but you can make it on your ordinary sewing machine. There are double welting foots, or you can make it by doing it in two steps. Again, this isn't a @#$% sewing class.


Use a hot glue gun to glue the welting over the staples. A really important and helpful tool is something called a regulator. It looks like a giant needle, and is extremely useful in getting the welting to lie properly in place. Run the tip of the regulator along the middle channel of the double welt, and it will push the welting into place in a nice straight line.
I hope this has been helpful, 'cuz it's taken me a really long time to write all this down.
To see the second part of this tutorial....
just click here ....., it's just a short little addendum.
So that's it!!!!!
Later, Gator
Betsy


.jpg)
.jpg)
.jpg)


15 comments:
woah!! this was awesome!! I only have ONE question: did you have anything on the wall that this fabric is stapled into? Like batting or strips or do you just staple it to wallboard or plaster?? You ARE the bomb!! And you are funny as #$**!@~
You are definitely the bomb!!! Very beautiful job! Thanks for the great tutorial and the helpful tips.
Betsy I have a question about the fabric vs paper, do you have a specific reason that you prefer fabric ? I am getting ready to have my dining room wallpapered and I am curious about your thoughts.
You did a lovely job, by the *&%*!@&* way.
Whoa, I just looked out my window and there are all these people outside with fabric for my dining room!
This looks wonderful but probably more work than my teeny brain wants to engage in. I especially like the way you matched up the fabric before sewing seams.I'd learned it a different way and have always had trouble matching up the design on the fabric. So that alone was worth reading the entire blog post...and of course your incredible humor...which I would pay for BTW :-)
BRAVO! Beautiful!
You are a breath of fresh air! I hate listening to those designers with the big egos that think they are always right.
WONDERFUL post! I recently picked out new wallpaper for my dining room and the price was $189 per SINGLE roll! So, I'm thinking fabric will be MUCH cheaper!
This is so beautiful! I wish I could try this.
www.mychristian-life.com
Wow, I love this!! Thank you, a blog about color and beautiful stuff...how refreshing. Now this is a home.
Kathy
That is a lot of work. I do love the look of upholstered walls. Thanks for sharing the steps at Wow us Wednesdays.
Wow, incredible! Thanks so much for the terrific tutorial - I know that was a ton of work.
You are the bangenest Aunt ever. Really this is so cool. I really like the fabric she choose (or you choose).
Is anyone else having trouble getting past post 9? I'm dying to see the finised room and blogspot keeps giving me error messages....Boo.
Everything up to 9 and including 9 works fine...
Small House / Big Sky Donna
http://smallhouseunderabigsky.wordpress.com
Thanks for the tutorial Betsy....going to tackle this project!...amazing!
Post a Comment