Friday, December 16, 2011

How to arrange flowers (Miriam is so lucky)

Yayyyyy!!!!!
I don't need to buy that urn back from my niece, Miriam!!!
I am awesome, and did an arrangement that she likes. So she will keep the urn, and all the flowers she bought from Michael's. I actually used all of them in the arrangement. So we don't need to return NOTHIN'!!!
I worked on the floral arrangement in my dining room, so she will have to come get it and bring it back to her house. Unfortunately, I won't be able to show any pictures of it in her dining room, but will show how it looked in mine.
Remember the urn? We got it a couple of weeks ago at a group antique mall (junk store) in the greater Boston area.

This was the blurry picture I took with my new phone.


Miriam emailed me a picture of how it looked on her table.....

It doesn't look half bad. Hard to believe it was only 20 smackers!!!


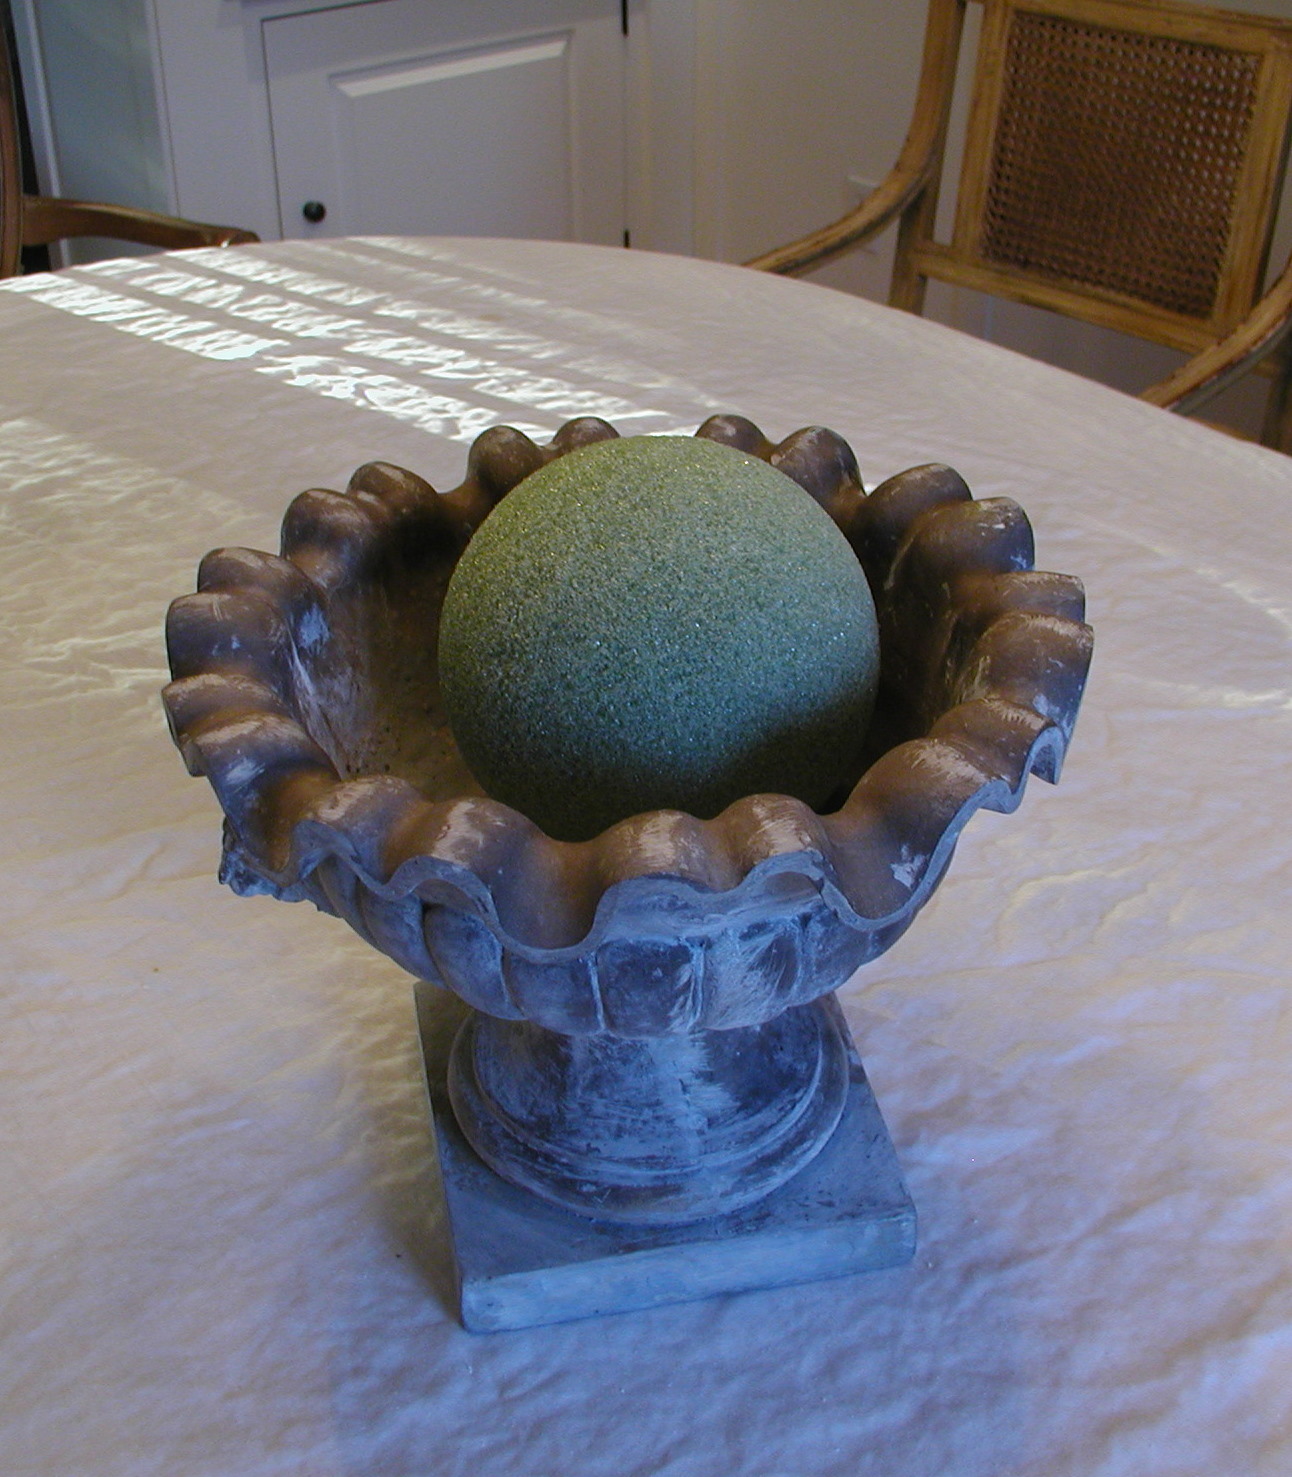
Here it is in my dining room, about to be transformed by my magic hands.....


First, I pulled out the ball of Styrofoam we bought at Michael's.......


Then I placed it in the urn.................


Then I pulled out all the flowers we (Miriam) bought from Michael's....

They looked much prettier than I remembered them. Who Knew??


Then I had to hack the stems down with my wire cutters. Boy what  a pain in the @#$%&.
Then I stuck them in the ball in a VERY artistic manner.....

Then I realized that I hadn't cut the stems down enough. OY, OY, OY!!! So I had to pull them out and hack them down some more. Oy!


Soooooo..... I just kept cutting and sticking more in.....
And them realized the ball was too high.
Yikes!!
So I got my serrated knife out and sliced the bottom off the ball. (This might be why some men are scared of me) (don't mess with middle aged women) (not that I don't love men) (a little ketchup, a little salt.....)


I kept sticking in flowers.....


Till I stuck them all in!!!!!


And then I mushed them around till I liked it!!!!!

What do you think??


Linking to: House of
Grace

Tuesday, December 13, 2011

Questions, Questions

I've had some questions submitted to me through the comments on my blog, and not to be one to ignore an opportunity to spout off and act like a know it all, I will attempt to answer them. Due to a certain degree of favoritism, I will first answer Amy of Maison Decore. She wrote:
 "Wow that was a crapload of work!! They must be very $$$$ chairs now!! Question: you skipped right over the details of adding the flange trim on the uppers. Did you make a strip folded in half (like an empty welting case) for the flange? and why did you decide to do a flange trim on the top and not welting as you did on the bottom? They look great, and you are the queen of execution!"
    Yes, I know, I copied the whole email, well, it was so flattering I couldn't help myself. Now, to answer her question, I did a flange rather than a welt, for the simple reason that I thought it was COOL!! Yes I did make a strip, folded in half like an empty welting case, for the flange.....I actually have pictures of it!!!!.


AARRRGGGG!!!!!!!!!!!!!!!!!!!!!!!!!!!!!!!!!!!!
I had written almost this whole question and answer post, and the blog spot program had some sort of a hissy fit and started shimmying. So I saved my work and closed it out, and when I reopened it ALMOST ALL OF MY WRITING WAS LOST!!!!!!!!!!! I just want you guys to know that it was really funny and pithy, but now I feel PISSY, and will just answer the damn questions without my usual flair. (Unless it comes back to me and flows from my brain into the keyboard.)
Anyway, to continue................
Cut the fabric into strips.......................

Fold the strips in half and iron them, so that the fold keeps its shape when you sew them to the side box strip..............

Here's how they look attached to the slipcover.................


Next question was from Janet at The Empty Nest
She wrote:
"OMGoodness....why are you not using Annie Sloan Chalk Paint...no sanding, priming...just open the can and let it fly!"

  WELL, Kris and I didn't know about it when we started working on the chairs. I hadn't met Amy yet, so she wasn't in my life to share all her pearls of wisdom. We will definitely try it when I come back up to Massachusetts (HA!!! I am in Florida!!!). There is an antique secretary that we need to refurbish and get rid of (I mean sell).

 I saved the next question for last 'cuz it's the hardest to answer. It's from Amy R. She asks...
 "I follow your blog, so I popped over here to ask you a question. Yes I know you do not write people back to answer questions, but I thought if you ran out of ideas to write about, maybe you could touch on this subject for your blog. I know – your welcome. Anyway, I was not born with a complete decorating gene. Therefore, I have tried in the past to hire a designer. I’ve done it three times and nobody gets me. Before I hire them I ask what type of taste they have, and they say they have no specific taste, they conform to mine. I love the cottagey feel of your home, love that you repurpose, and love that everything does not match. How can I find a designer that’s as talented and creative as Betsy Speert? (Always good to add praise) What questions do I ask, where do you look for one? By the way, I live in the Boston area too – do you have any decorating friends?"
  Again, I posted the whole question because I love flattery almost as much as I like to show off. Anyway, to answer this....
I would never take a designer at his or her word when they say they have no specific taste. That's like saying I don't have any strong feelings about lima beans. I flatter myself that I can do lots of different styles, but I always bring pieces of my aesthetic to the job. To find a designer you like, go to decorator showhouses and look for rooms that appeal to you. Look at local design magazines. Most importantly, interview the designers and look at their portfolios. If they don't have one, ask if it would be possible to go to see any of the rooms they have designed. It's also always good to get references. You should always discuss the budget and how they charge. I never kept that secret from my clients. As a matter of fact, I wrote in the contract exactly how I charged and marked up. This is a business arrangement and it's important that everything is clear. I never went in for oral agreements, everything was in writing.
As for recommending a Boston designer, I only know the old established ones, and your budget would have to be REALLY healthy. I hope this was helpful, but finding a designer is kind of like blind dating. Unless you go see the goods, you have no idea what you're getting.


Sunday, December 11, 2011

Redoing rattan chairs, cont.!!! (Or, how I did the backs!!!)

Hiya!! I was wrong. I did take pictures of how I did the corners of these seats.


This is one of the back corners.


 I tucked the side under the back fabric and stapled it down. Then I trimmed off the excess fabric.


 This is a picture of the front corner...........

It's gathered. Carefully gather the fabric at the corner by holding it tightly gathered several inches inside of where you are going to staple it. Then staple it down close to the edge of the chair. This is a trick that I learned in my upholstery class that creates a uniformly gathered corner.

NOW I WILL SHARE WITH YOU GUYS HOW I DID THE BACKS!!! (and my false starts and confusion, before I persevered and conquered the beasts!)
I wanted to have a padded back so the chairs would be comfy, but I didn't want a big blocky cushion like the ones these chairs came with. (Oy, I ended the sentence in a preposition, well, I can't be bothered to rework it.)
This is the way they came.....
This is a side view of the back cushion....

They have a real 1950's vibe to them. These chairs are from some time back then, not sure when, the company that made them is no more.
So I wanted to do an interesting updated look that was padded, only I was having trouble working out the engineering of how to do it.
I first tried to do a slipcovered effect with a knife edge side and a padded front. I was using an old sheet to work on the prototypes.


The only real accomplishment that I achieved with this look was a complete and total feeling of confusion.
This was the back of this effort............I have no shame and am willing to show some of my not so brilliant efforts.

I couldn't figure out the pattern, so that it wouldn't be pulling and looking like amateur time. I calmly said to myself "Self!!! Get it together, and figure this @#$& out!!! We gots to sell these babies and get them out of my basement. You is drowning in stuff!!!)
SO I FIGURED IT OUT (brilliantly, if I do say so myself)
But first I tried another unsuccessful way to do it. So here are more embarrassing pictures!!!

I tried a flat cushion held on by straps.
Here's the way the back looked................


Kris (my bidness partner) told me it looked like a sports bra. Boy, everyone's a critic.
So, while she was out of town, I went back to the drawing board, put my shoulder to the wheel, pulled up my pants, had a stiff upper lip and told myself, there is nothing to fear but fear itself. And I solved the problem with a solution that was so obvious it's embarrassing. I just needed to make a boxed side to the slip cover. Sometimes if you are too close to a project, you can't see the easy solution.
Here's the finished front of the back............................

Here's the back of the back......................

I will now show you how I did it.
I made a pattern of the shape of the back by drawing the shape onto tracing paper. Don't forget to add 1/2" all the way around for the seam allowance.
Then I measured how big I wanted the boxed sides to be, and cut out the strips for the sides. (Don't forget the 1/2")
Then I cut out the strips for the flat flange trim that I used instead of welting.
Then I made the buttons at Drape It; my friends workroom. I have a button machine in Florida, but Joe at Drape It lets me use theirs when I am up north. Don't use the button kits at Joanne's, they fall apart, and then you are up the creek.

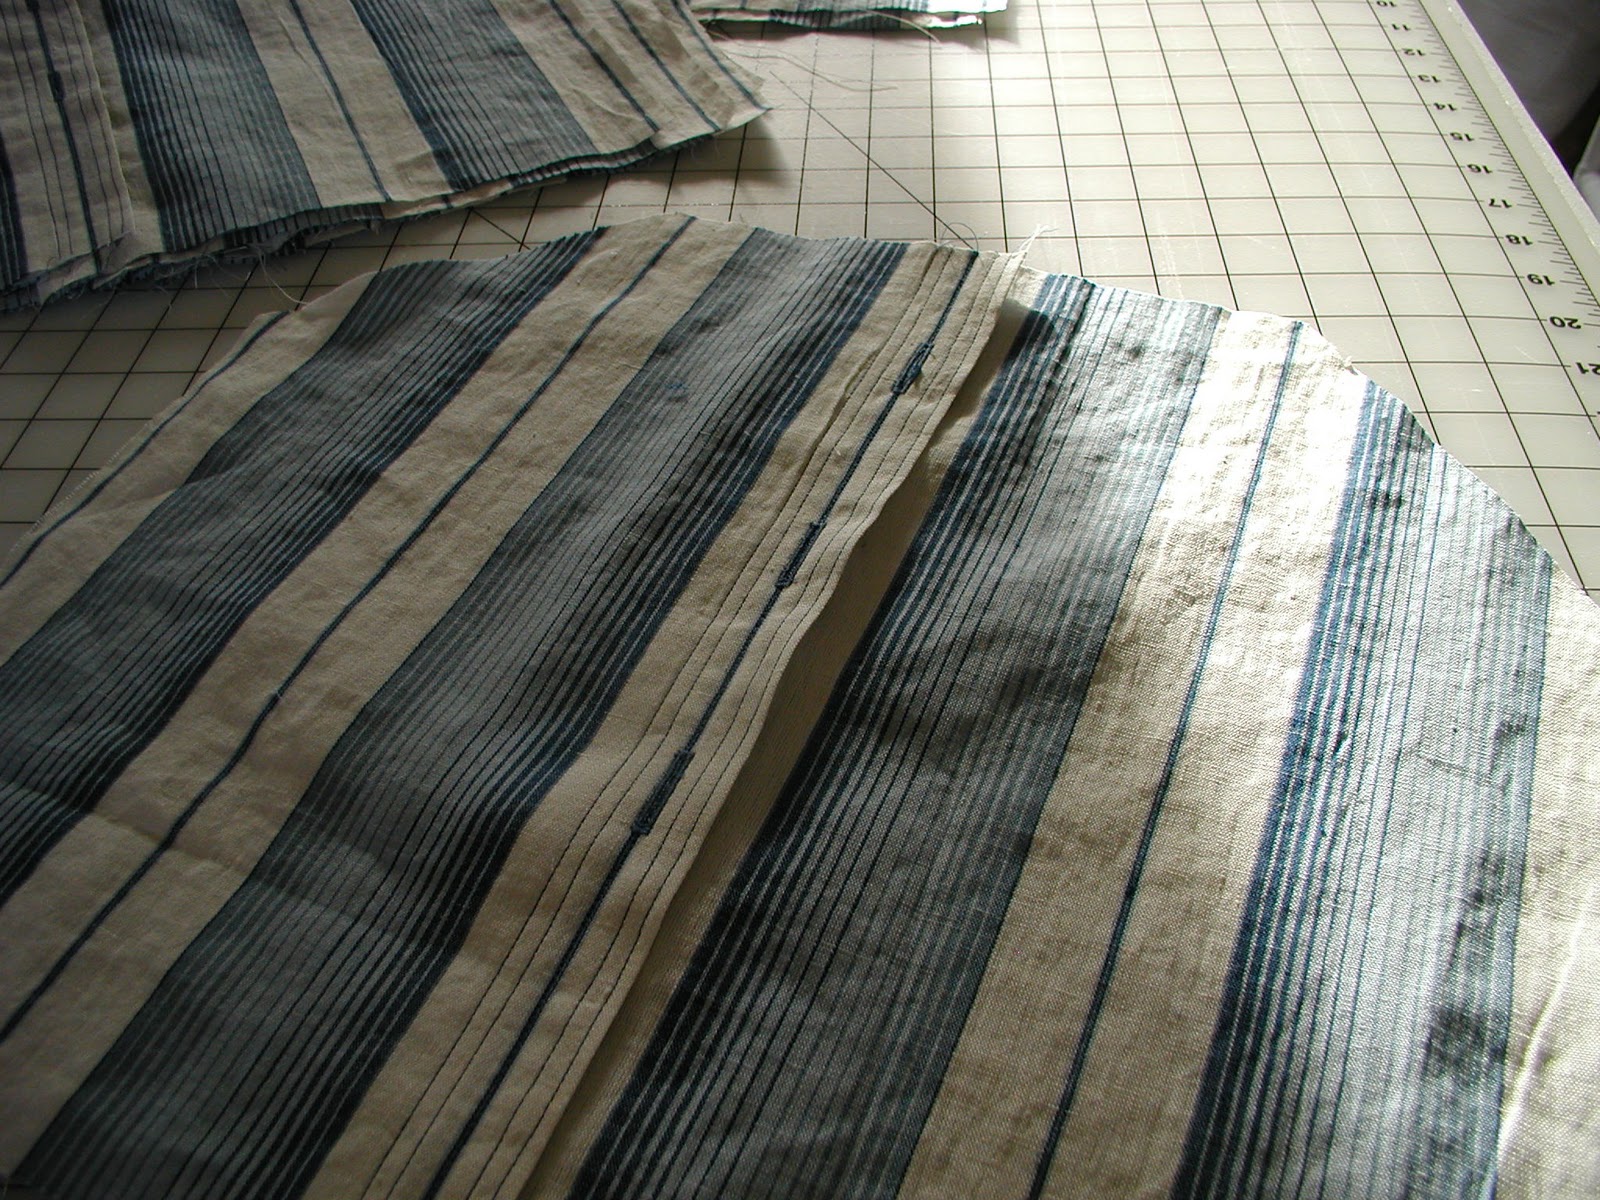
Here's the fabric all cut and laid out!!!!!


I realized that the stripes had a right and left side (one side was darker than the other), so to make sure they all were the same, I put blue painters tape on the front side of each piece, so I wouldn't screw it up!!!!!!
The back of the back was in two pieces, because it was buttoned together. If there is a way to add more work on these suckers, I was finding it.
Soooooooooooo..........
Then I sewed each side of the back of the back.....
I gave it a men's shirt detail at the buttons......
Here's a shot as I am sewing the button holes.....

I folded the fabric under twice, and then stitched four lines of blue thread down the sides of the button holes, to give it that men's shirt look. I used pins to mark where I would start the button holes.
Here's a close up!!!!!!

I then pieced the two sides together and joined them with a seam down the middle of the button holes that is hidden in the blue stripe. This way, they won't come apart, but will look like two pieces. I AM A BIG FAKER. It's all illusion in my little world.

Next, I sewed the flange trim onto the strips that would become the sides of the slipcover...............

Don't forget!!!!!
Right side to right side.............................

The difficult part of figuring out how to engineer these, was how to make the front padded. I made a pocket by sewing two pieces of fabric together, with the outside piece being several inches longer that the inside piece. The top pieces in this picture are longer than the bottom pieces.

 Once I sewed them together, I treated them as the front side of the boxed slipcover.
Then I sewed the combined front and the button holed back to the sides that had the flange trim attached...........

The sides looked like this........................

Then I cut two layers of Dacron the same size as the template for the front and glued them together with spray adhesive. I then stuffed them between the layers I had created in the front piece.......

THEN..................I sewed the buttons through the front panels and tied them off with button twin. The ties are hidden inside the slipcover.
HERE'S A CLOSE UP!!!!!!

THEN....(this is taking a hell of a long time, isn't it?)
I hand sewed the pillow pocket closed, making sure that I stuck myself and bled some more on this project.
Here they are getting finished....................

How about a close up?????

The finished back!!!!!!!!!!!!!!!!!

Then..................I beat the finish up a little, so that anyone using these chairs, wouldn't have to worry about hurting the paint job.

And now they are for sale at the Boston Design Center at Studio 534. I finished them before I left for Florida. I AM THE BOMB!!!!!
Here are two of them in the showroom, just waiting for a new owner to take them home.

That's more of our stuff for sale in the cabinet. Kris and I are bidness women!!!!!!!!!!!!!!!!!!!!!!!!!!

partying at:
The DIY Show Off


Related Posts Plugin for WordPress, Blogger...